.

Showing posts with label Home Comforts. Show all posts

Thursday, December 6, 2012

Deck the Halls... Simply!

I know the posts have been sparse lately, to say the least. We've been blessed to host out-of-state company on two separate occasions in the last 3 weeks, so I've been having fun with family and friends. In between I managed to get a few things up around the house to make it festive for the season.

I'm convinced with our media saturated lives, we crave the simple and uncluttered. Our eyes need a break! But they need beauty, too. Keeping the adornments simple and not over done allows us to focus on a few items really well.

And can I add that decking the halls shouldn't take a week to put up OR to take down? As much as I like to decorate, there IS more to life! Like building snowmen, reading a good Christmas book, taking a hike in the brisk afternoon air, baking cookies with the kids...

However, I will confess I took the opportunity to deep clean the main room as I put up a few things. It was sorely needed and easiest to do at the same time.

The fireplace mantle got the biggest transformation. I removed the large picture that normally hangs between the sconces and dug out an old window I had been saving for a project. The sconces themselves got red bows and old tree toppers (stars) were used to fill in along with a couple of red plates I had (usually I have yellow plates up on the mantle). As for the greenery... we have a wood stove that heats the house. Nothing can be close enough that would be flammable, so no stockings or garlands. But even with that limitation, I was pleased with how it came out.


To the left of the mantle I added more windows, a pine wreath (I just switched out the bow to coordinate, and a matching chicken. The green rosemary tree is a bit too small, but that will be planted in the garden later and I may add another larger one if I come across it.


On the right side of the fireplace is a large red armoir my husband made for me years ago (how convenient that it matches the holiday!). I removed some flowers on top and added antlers that an elk shed behind our house a few years ago. The sun bleached them white and they were perfect on top! Makes me think of reindeer antlers. I'm going to add another little rosemary tree on top in another galvanized pail to bring more green and some needed height.


A basket with a white pitcher and red mercury glass balls are all that was needed. I REALLY like these and I may buy a couple each year to put on the tree as well. They look rustic, antique, and glittery without being overdone.


The hutch is mostly the same, but I pulled out a few items and replaced them with red and white things. A few pieces of greenery and viola!


The NOEL angels were my mom's when she was a little girl and the antique bells were my grandmother's. I love using selections from their Christmas decor for my own decorating. Sweet memories!


The Italian made nativity was also my mother's, now an antique. It sits in a creche made by my husband on a table behind the sofa in the center of the room.


On the opposite wall is another half hutch that has very little to adorn it, but just enough. I removed a summery bouquet and threw a fun berry wreath around one of my VERY favorite pieces... a ceramic sheep. While this is MY favorite item, it's a joke for the rest of the family. When I bought it, I ran in a store while the family sat out in the car (not interested in the shop I was excited to see). After quite a while, I came out with the sheep that the store keeper had wanted to part with and gave to me at about half the original price. I was THRILLED. My husband? He started laughing so hard, tears streamed down his face! He couldn't believe I was so excited about it and that it looked... well... odd, I guess. Of course, this set the girls to laughing and apparently embedded in their brains as a permanent memory! I still don't see what was so funny.


Oh, notice the screen door to the right? I wrote about it earlier and long story short, the shop keeper accepted an offer I made and it's now at home on my pantry!


The china cabinet got the same treatment as the rest... just re-worked with those things in the right colors taking center stage along with a little greenery. I typically like to use fresh greens from around the yard, but these will be added closer to Christmas as it dries out too easily. If I'm going to spend money on the fake stuff, I like to at least get the kind that looks as real as possible.




There you have it. I don't think I spent even $20 on all this. Almost everything was from "Christmas Past" and got re-worked in some way or another. Or it was an everyday item in the right color palate. A frugal Christmas fits our family philosophy so that we can give more and not overly participate in the commercialism of the holidays.

The tree is yet to go up and I'll post additional photos of other rooms later. But for now, get to writing your own holiday or Christmas post as the Barn Hop Ladies will be hosting a special Monday event on December 17th where we will link up related holiday posts instead of the regular homestead post. That way we can share and enjoy more terrific ideas for the holiday season!


Friday, May 6, 2011

Al Fresco Dining For The Summer

AL FRESCO DINING Definition: Italian for "fresh air"; eating outside, especially in temperate climates during the summer months when moderate temperatures and weather are favorable. Originally a practice to escape the indoor heat and dine in the cool air and shade of the outdoors. Often a casual meal where one lingers.


Photo Courtesy of Pinterest


Ever since we moved into our "forever" home, we have practiced al fresco dining all summer long. Our back porch area was non-existant for years until we could add a patio, so we placed an old rustic table on the front porch of our farmhouse. Anyone in the area could see us, but I really didn't care. For me, dining outdoors is such a treat that I just wave and go on with my meal, telling myself that they all wished they had a porch to dine on, too.


At first my husband didn't like eating "in public" very much, but it quickly grew on him and he was a convert as well and soon every meal in the warm months was taken out on the porch; breakfast, lunch, and dinner. I know the girls will have wonderful memories of this! When the brisk autumn weather returns each year, there is a bit of sadness as we realize we are eating the last meal of the season outside.


Time has passed and the back patio was finally put in place about three years ago, but we've continued to eat out front because we didn't have the back area set up for dining. If you remember, I recently moved the outdoor dining table to the school room for the girls, so now I have no dining area at all! With warm weather is upon us, I really need to come up with a frugal solution - fast!


Next weekend is the Community Rummage Sale and although I will have a booth, I plan to leave the family in charge a while so I can scour the other wares for a possible table and some chairs; rustic but comfortable and easy to store for the winter months. Pray that I score! I'd settle for just a great table this year and I'd use folding chairs (that I already have) until next season when I could add some new seating. But it would be awesome to find enough items to pull together a charming dining set.


The internet is wonderful for getting the creative juices flowing! Since I'm not normally an out-of-the-box thinker, I often need some inspiration to help me think of the possibilities so that I don't get my heart set on just one thing (which I often can't afford or find). Pinterest is always wonderful for lots of eye candy and heart stopping, artistic vision. Since frugal is a key word in this situation, I picked a few favorites that might fit that bill to inspire... 


 We don't get super fancy every night, but it's good to have something special like a candle or a small centerpiece. I keep a couple of items handy such as short glass vases that will hold birdseed with a candle, flowers, or fruit; an antique roasting pan with planted herbs; an old sugar mold with votives.


It's amazing what a few linens from inside the house can do to help transform a space. A large piece of fabric that is frayed on the edges and set at a diagonal works for color. Just add some cloth napkins and voila!


Another thing that creates ambiance is lighting and plants. A few potted items go a long way for softening a space. Don't forget that shrubs are excellent for this kind of application as well as flowering beauties. Christmas lights are cheap and add a touch of sparkle or try hanging a non-electric chandelier and add candles! One of my favorite items are the big strings of white carnival type lights.


These would be romantic for two. We have french doors just off our bedroom onto an area of the patio... perfect!


I don't have an orange grove, but I'm seriously thinking about some type of table in my vegetable garden so that we can dine out there on occasion. And why not? It's one of our favorite places! I love these retro industrial type metal chairs. They would hold up in the sun and weather but stack nicely for winter as well, although I might add a cushion on occasion.


{Sigh..... } 


Please share some of your outdoor dining tips so we can all get ready!


Wednesday, February 16, 2011

Desk Organization: Design Notebook

I know what you're thinking. Probably something along the lines of... "I thought this was a homesteading blog?". And it most certainly is! My homestead includes my house. Why do I always feel the need to apologize for a post about decorating on a homestead blog? Apparently I must have a hang up about this, but the truth is... God is a god of order and beauty. And He created that desire within each of us. So, no more apologies... just know I'm craving some organization and beauty right now; no doubt the fact that it's the middle of winter has something to do with it!


And since today has been raining and I'm in the midst of purging my office and reorganizing, it has occurred to me that a design notebook would solve a big issue in my office area... 


The Problem: My files are stuffed! and one major file that is always overflowing and hard to get into is my tear file for magazine pictures that I keep for inspiration and ideas (okay, really it's several files, but who's counting?). Because it's so stuffed, I actually avoid it. I'd rather not look through the pictures because it's such a mess. And what's the point of having an inspiration file if you never get into it? 


The Solution: A notebook! I love notebooks. While some things are better in a file, other things are better in a three ring binder, like magazine pictures that inspire me. This way I can pull it out easily and browse through it when I need some ideas. And when I tire of a picture, it will be easy to remove. That way the file always stays fresh. 


As I was purging these unruly files, I realized that my tastes or needs had moved beyond most of the photos I had been saving. So I got rid of those and the ones that remained I slipped into plastic sleeves so they don't keep getting bent up and wrinkled. 


You can purchase these sleeves in bulk at a large warehouse store like Costco and save a lot of money. Besides, keeping these on hand is a great idea. They hold a ton of things including those little product brochures and paint samples that I like to pick up at the home improvement centers.


Now, doesn't that look nicer than a messy file?


Wednesday, January 26, 2011

Laundry Room Organization

I can not believe I'm saying this, but I actually enjoy doing laundry. This hasn't always been the case. In fact, it was one of my least favorite chores growing up and well into my married life. Some of it probably had to do with the fact that we had to use a laundry mat for years. Not much fun and honestly, I don't have any words of wisdom on that subject except save like crazy and go buy yourself a washer or figure out how to do it by hand! I was so desperate at one rental house we lived in that we got a hand-me-down washer from my husband's parents and put it on the back porch and hooked it up. Seriously. It worked just fine until the pipes froze one winter. 

Photo Credit: darrylh

Back to laundry at home... I'm assuming you have a washer and perhaps a dryer or clothes line. And a space to do your laundry, whether it's a garage, a basement, or a dedicated space often referred to as a laundry room. Let's face it, you're going to spend some time here, and depending on the size of your family; quite a bit of time. Why, oh, why, do we leave this space to fall into disarray and chaos, filled with clutter and junk from other rooms in the house? Why don't we make this space a joy to be in and efficient for the task of cleaning our clothes?

Years ago, I realized that I had to get this space under control. And not just cleaned up, but beautiful. Someplace I wanted to be! It didn't matter that the space was small and a dual use room, I had to make it so that I would be drawn to do my laundry productively on a regular basis. Here's some tips that helped me accomplish this goal...

Laundry Room Organization Tips

• Clean out the clutter. Unless you do not have any other space such as a garage, barn, storage shed, basement, or attic space where you can store discarded items, clean out everything that doesn't have to do specifically with laundry from your laundry area. If your washer and dryer share the space with your pantry or mud room (or another use), designate a portion for just laundry and clear it out. Be ruthless and ask yourself if you really need this item to do laundry.

• Keep the laundry room for laundry. Do not allow other things to take over your laundry space. If you must keep a tool box or other items in this space, make sure that they are organized and won't interfere with actually doing the laundry. You may need to get creative on this, but don't give up - and speaking of up, think UP. Consider using the wall space above for storage. Add some kind of shelves or a recycled cabinet if you need more space.

• Create a space for folding clothes. If you don't have a place right by your washer and dryer, clothes will have to be taken to another area to fold. Avoid this at all costs! If you don't, chances are laundry will pile up beyond your ability to keep up with it (guaranteed - unless there are only one or two of you in your family!). However, if your folding area is right near your dryer, you'll be motivated to fold it while it's nice and warm, straight from the dryer. (If you use a clothesline, fold it as you take it down!)


I have a front load washer and dryer, but I opted not to use the pedestal drawers that were sold separately, but often encouraged. While I must bend over to access the appliances (good for the waistline), it allowed me to put an inexpensive Formica counter over the top since the controls are below on the face of the appliance. If you don't have this option, consider a countertop in another part of the room, but nearby, or install a folding shelf that drops down over the appliance when needed. This could be as simple as a prefabricated shelf on hinges with a latch to keep it up and a chain on each end for when it's lowered. As a last resort, you could use the top of the dryer, but you must keep it cleaned off at all times! So, I think you get the idea. Get some kind of folding space!

• Have some way to hang clothes. Not everything is folded, so have a hook nearby. I'm getting ready to install more of these so that I have several!


If you have limited space you might opt for a retractable valet bar. 


Years ago in another home, I installed a regular closet rod over the washer and dryer. This worked great for us! Or how about a rod over the door? 


Keep in mind that like folding, you will want to hang as soon as possible after the heat has gone off so that clothes won't wrinkle and you'll be more motivated. Let's face it, warm clothes are just a pleasure to fold and hang; cold clothes are not.

• Set up an area for line dry items. While you can hang dry some things on your coat hangers, a lot of items will loose their shape or get hanger marks if you hang them up. Laying the item flat is a better option. Your counter space might be your only choice, but if you have space for a drying rack, either a table top, wall mount, or stand up model, invest in one at the earliest opportunity. (This is on my list!)


• Choose a beautiful and practical way to display detergents, stain removers, clothespins, and other items used daily. I love these jars! (But you knew that already.) I use them everywhere. And who says you can't use them in the garage on the shelf? Make your laundry corner pretty, girls! Put a cute mat in front, hang a pretty shower curtain around it to section it off, or put one on either side. Paint the plywood a bright color if you have to. Your garage laundry area will be spiffy in no time! 


These three jars cost me less than $30 with tax and I bought them one at a time. 


I found this tiny tin cup at an antique store for $3. It makes a perfect scoop for the jar as well as a stainless steel coffee scoop (in background).


Make some kind of label to let family members know what's in each jar. If you don't have a labeling machine, tie something around the handle on the lid or around the mouth of the jar. Get creative!

• Store extra supplies out of sight. Your jars can only hold so much and you don't want to run out. So always keep some supplies hidden away. I only have two drawers in my laundry room, so I have to make the most of them; the bottom drawer contains the extra supplies. Whenever I use one up by putting it in the jar, I immediately purchase a new one so that I never run out. You can store the extras in another room, but don't forget about them! 


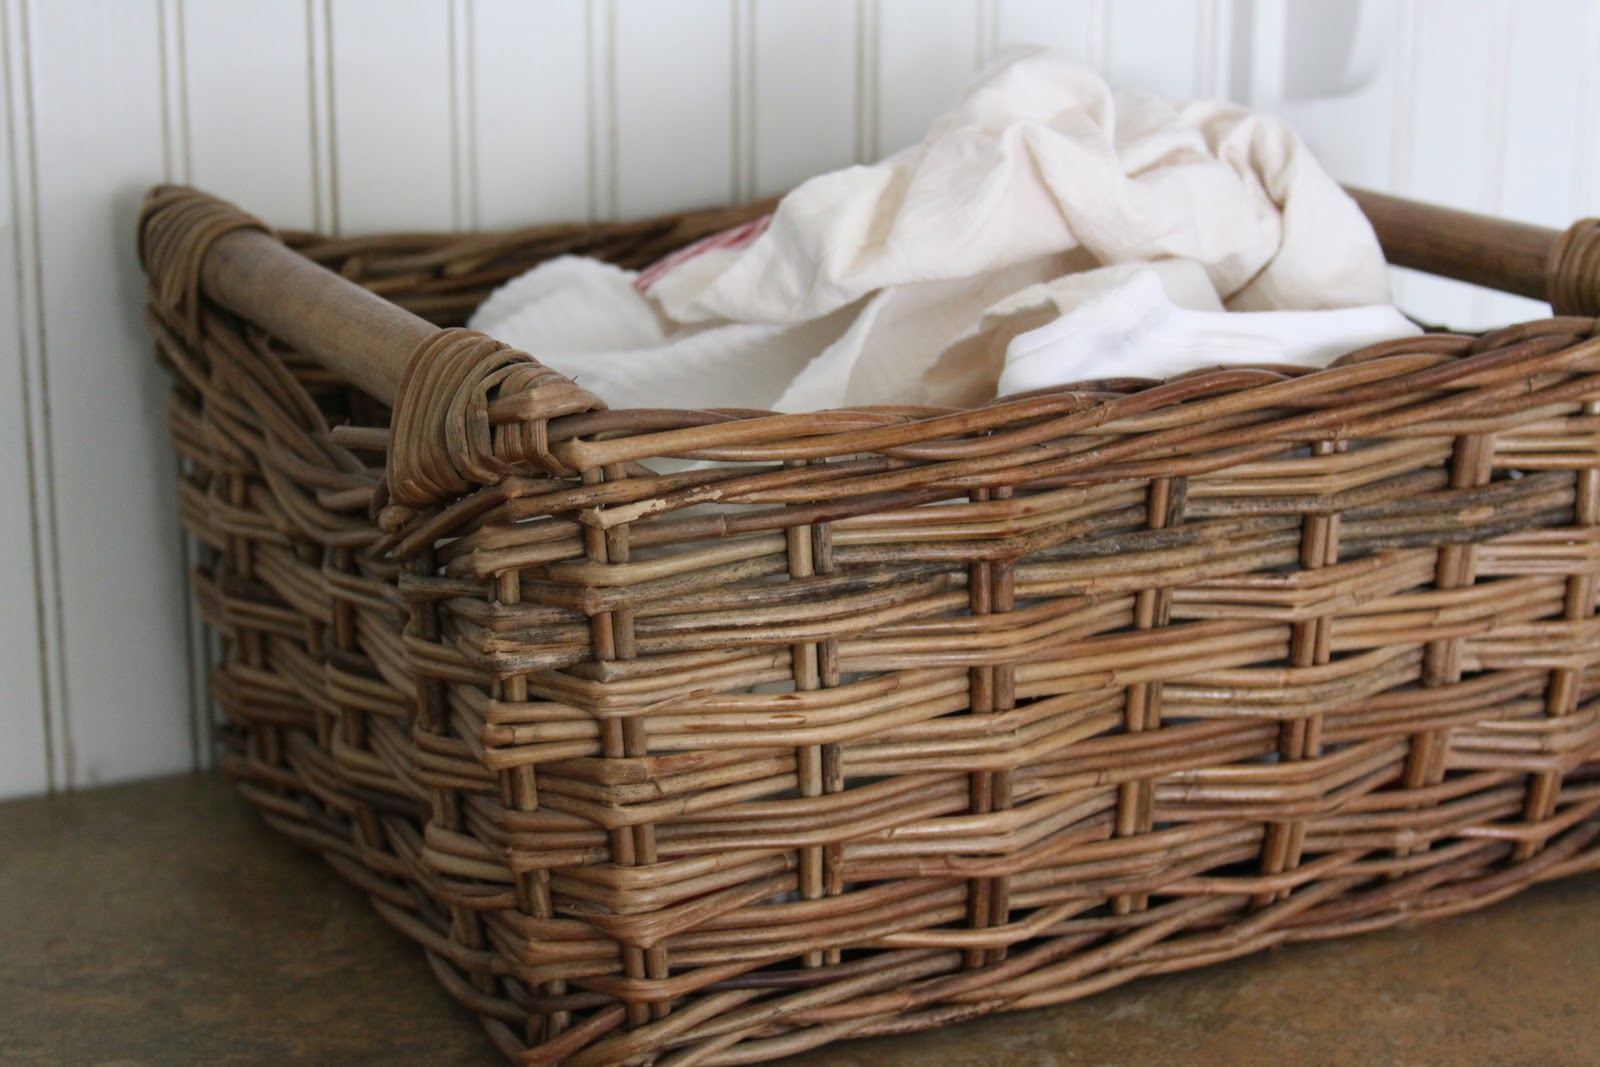
• Designate a basket to receive dirty items. We keep laundry baskets in the bedroom area for dirty clothes, but I realized all those kitchen towels needed a place to go. Otherwise family members (myself included) just piled them up on top of the washer. In no time, my area was a mess and certainly not inviting! An old basket allows wet towels to air dry while keeping them contained. Attractive and practical.


• Have a plan for clothes after they are folded. If you don't have a plan, they'll sit there for days and start to pile up, fall over, get dirty, and socks will vanish (if they didn't already vanish in the washer!). 


For smaller families or those who wash one person's clothes each day, a laundry basket on wheels is a lovely choice. And if you dry outside on a line, this might work for you in the summer as well.


For larger families or those who have only one or two designated laundry days, try cubbies or a stacking rack of some kind. I recommend cubbies with baskets so they can pull it out and take it to their room. You might have to buy the baskets and build a unit to fit your needs, but if that isn't an option, try using a bench with cubbies. Duel use is always good!


• Select a container to collect lint. My top drawer holds three plastic containers, one of which is designated as lint and paper trash that can be composted. If you don't want to compost it, use the lint for fire starters: place some lint in each section of a cardboard egg carton, pour left over wax from candles over the lint, let set, then cut apart. Just light the cardboard and voila!


• Keep needed extra supplies. Other laundry items you need to keep on hand should be contained and ready-at-hand: bleach pens, stain remover and stain remover pen, hydrogen peroxide, baking soda, and small toothbrush for stain removal, fabric labeling pens, fray check to stop ravels, and scissors. I use wool dryer balls which remain in the dryer, but you may wish to keep some dryer sheets as well. Keep it simple and don't buy stuff you really don't need! 


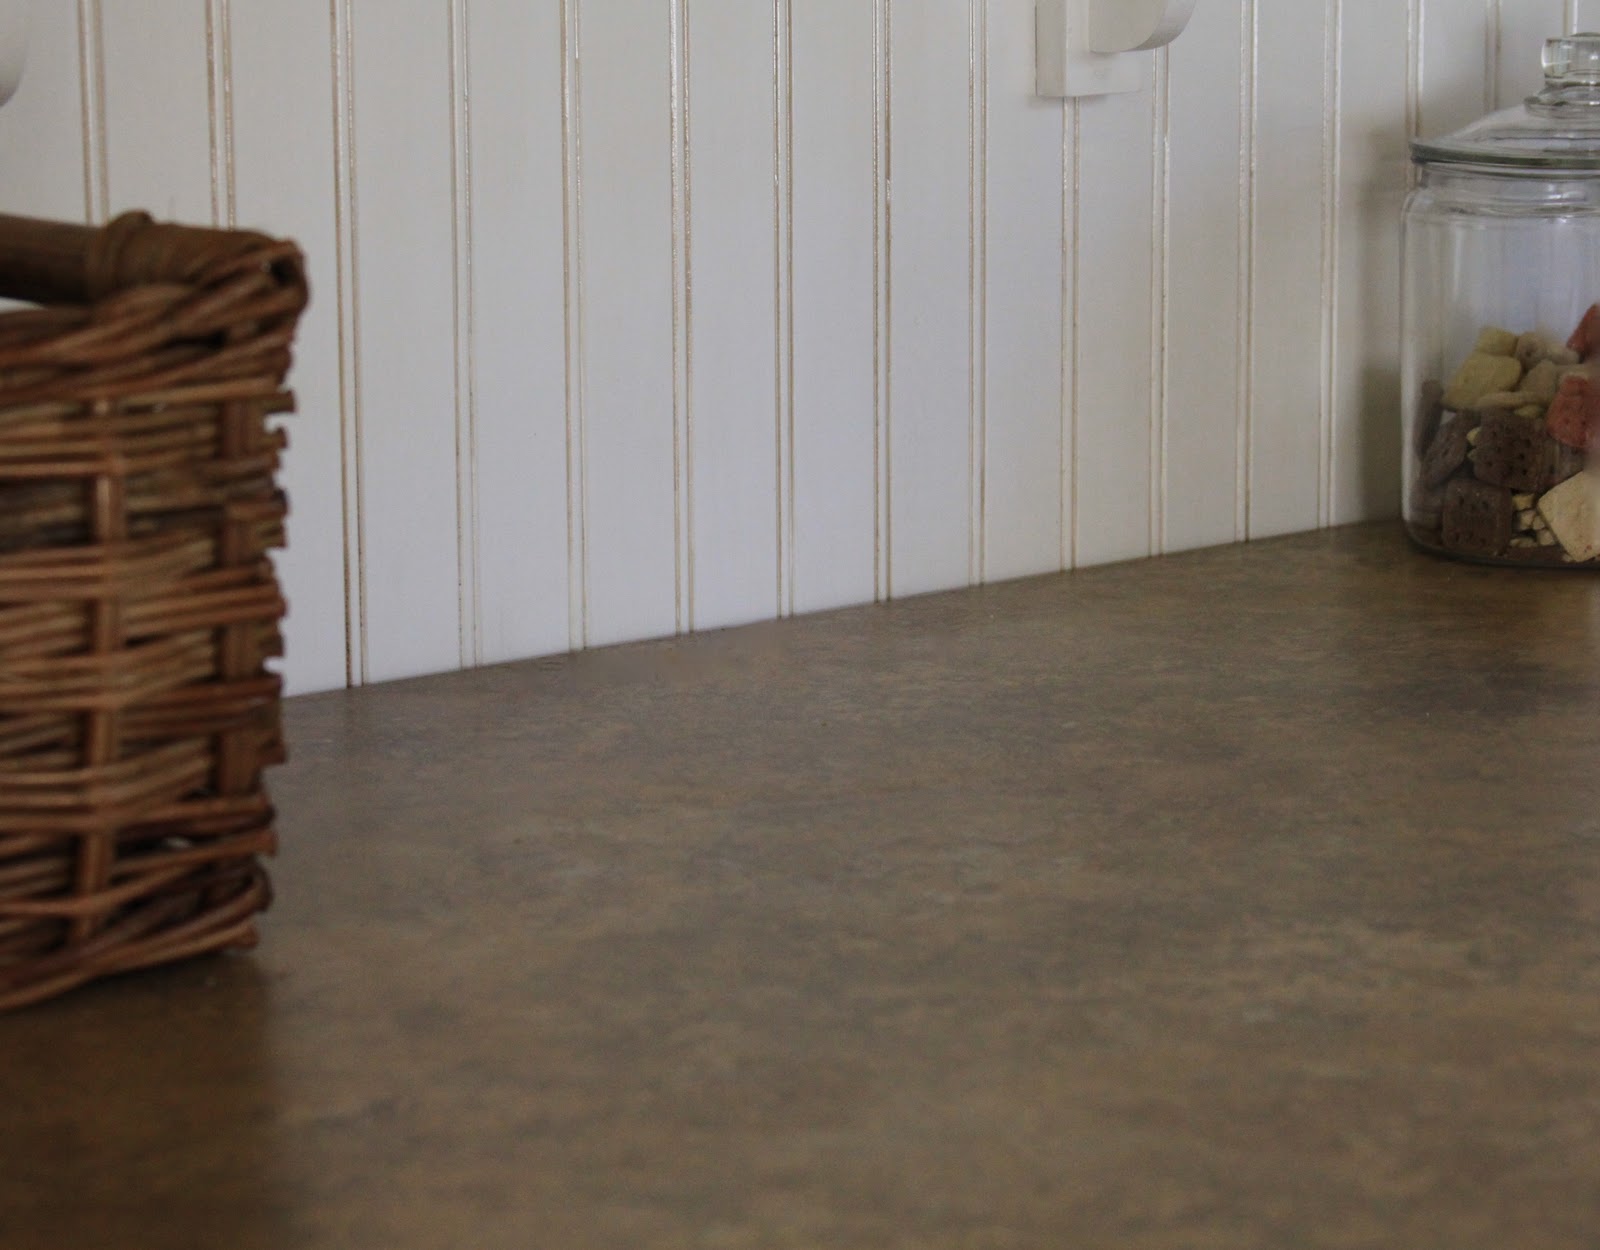
• Add the little extras sparingly. If your laundry room is dual purpose (and most are) you may need to add back in a few (just a few!) items to make it function for your family. Our laundry room is the access to both the garage and the back porch. So we keep some dog treats on hand...


spare keys...


a color coded weekly calendar so the family can see it on the way out the door (not monthly, it's too much and overwhelming)...


A large old school blackboard for messages and reminders, scriptures and love notes...


and a splash of color. Things that make my heart sing...


Is it time for you to get after it and clean out that laundry room? Light a nice candle, get a cup of hot tea, and just go for it! Tell me you don't enjoy laundry more after it's organized and I'll eat my hat! (Just kidding!) 

Add your tips and thoughts for organizing. What makes your heart sing when you do laundry?

LinkWithin

Related Posts with Thumbnails